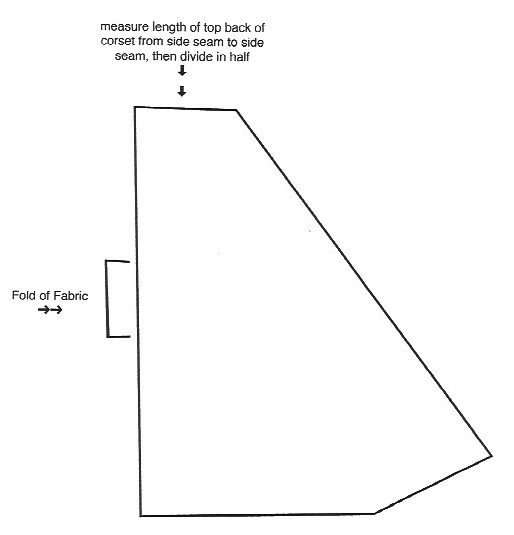
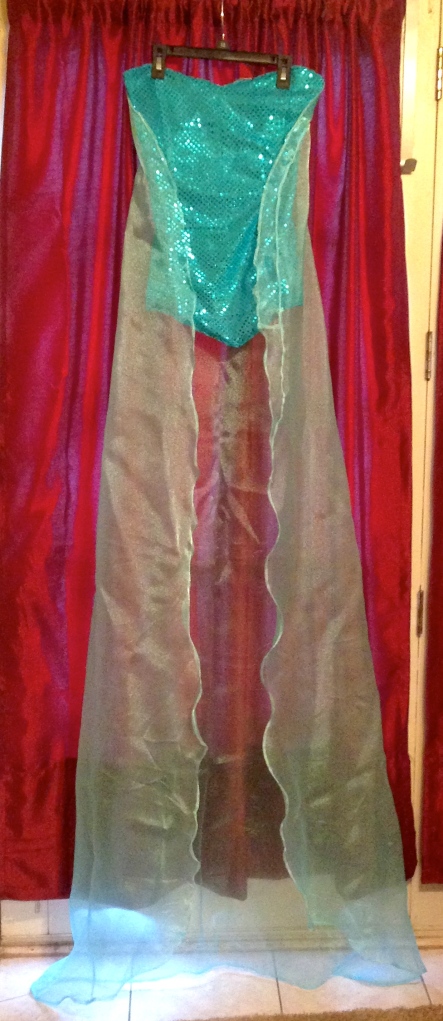
Hi there!! So I’m finally finished with Queen Elsa’s costume, well, almost, I have to add a couple hook and eye’s but that doesn’t take more than 10mins. So anyway, I forgot to take pictures of me making the cape, so I drew out a plan for you of what I did.
Ok, so as far as determining the length of the cape, I just measured from under the arm to the floor, then added about 4″ to the length for a slight train. I didn’t make the cape super long like Elsa’s because it’s for a 4 year old b-day party, and I didn’t want anyone stepping all over it and possibly ripping it.
As you can see, at the top you just measure the length of the top back from under one arm, which is where a side seam should be, to under the arm of the opposite side. After doing that, I added about half and inch to all sides to make room for hemming. (NOTE: I added about 2″ to the top of cape, which isn’t shown on the picture, to make room for the velcro.) Now, that can be tricking when your using sheers, I used costume sheer, so I really couldn’t iron it without melting it. So I used my 1/4″ hemming foot on my sewing machine for them, which came in handy, because you have to hem all sides of the cape.
As far as the cut out in the bottom of the cape, I just cut straight back from fold about 12-14″ then graded it up slightly to create the train. I hope my illustration helps you understand.
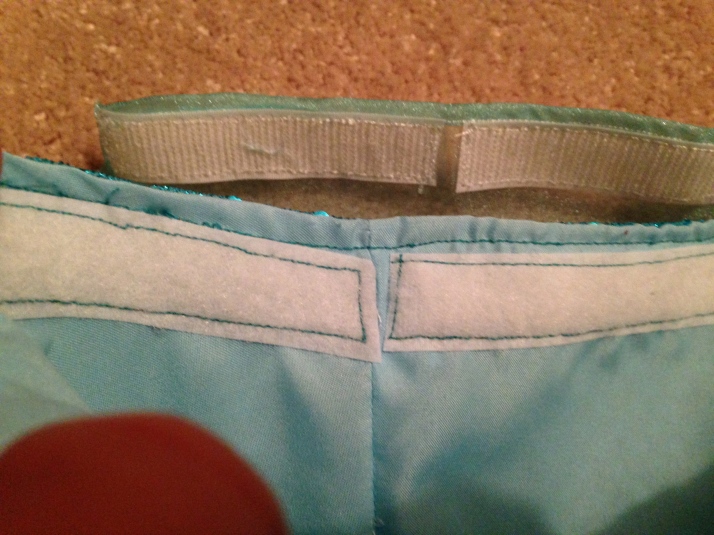
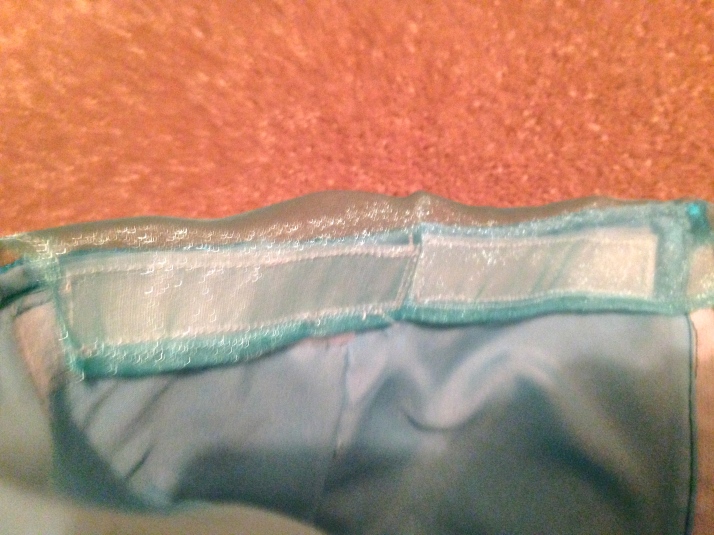
For the velcro, I just measured, cut, and sewed, lol. I used more velcro then I probably needed to, but I wanted to be sure it would withstand 4 year olds. So yea, I just sewed the soft side of the velcro to the inside top of the corset, and the other side of the velcro to the top of the cape. Be sure you leave a small gap in the middle of the cape for the zipper.
Ok so that’s it, if you have questions, just comment and I’ll answer them to the best of my ability. If your seeing this for the first time, in my previous post I pictured the pattern I used to make elsa’s skirt and corset top. “Queen Elsa’s Skirt Finished!!!”
OH I totally forgot, I also made a long-sleeved shirt to go under the corset top, that was super simple, I just used another long sleeved shirt as a template. Then added little V’s to the end of the serves that rest on the top of your hand. I used a stretchy mesh material, that just so happened to have a bunch of silver glittery, sparkly, swirls all over it. By the way, when your sewing shirts that have stretch to them, make sure the fabric stretches to the width of your body, not the length, including the sleeves.
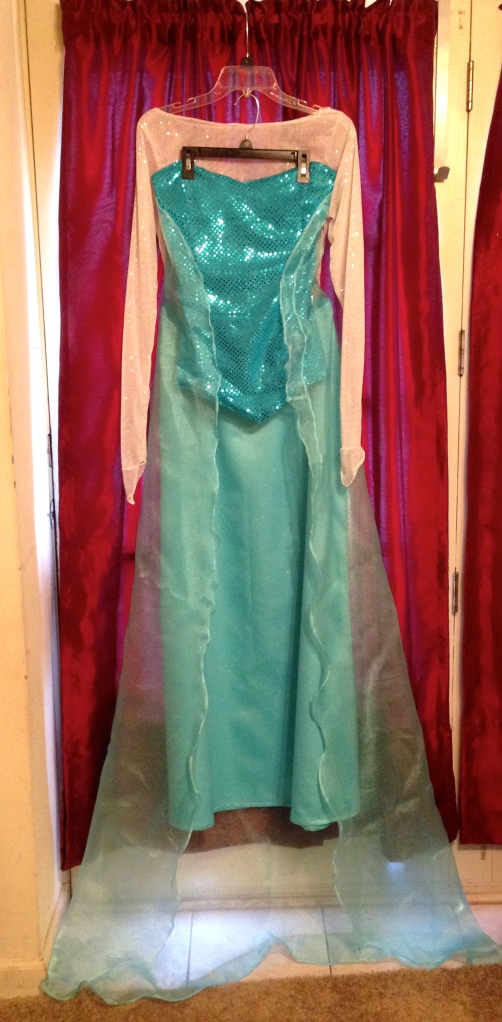 There ya have it, all finished, and ready to be warn. I will, of corse, post more pictures later when I get together with “the queen” for a dress rehearsal. Thanks for reading and I hope you have a swell day!
XO Christina
P.S Sorry for the lack in my photography..when the costume is actually being worn, I will upload way better pictures!!!
